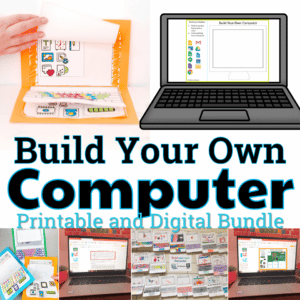
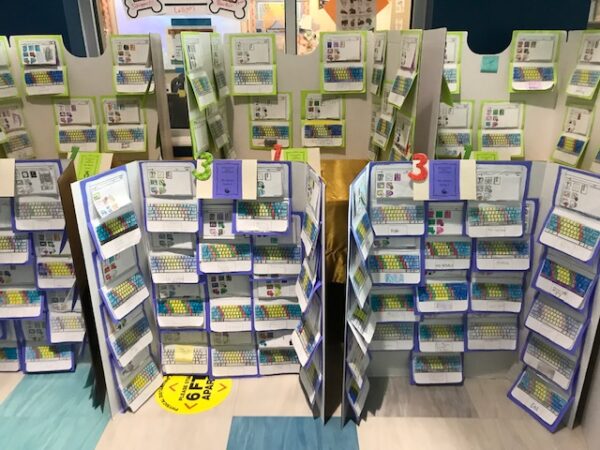
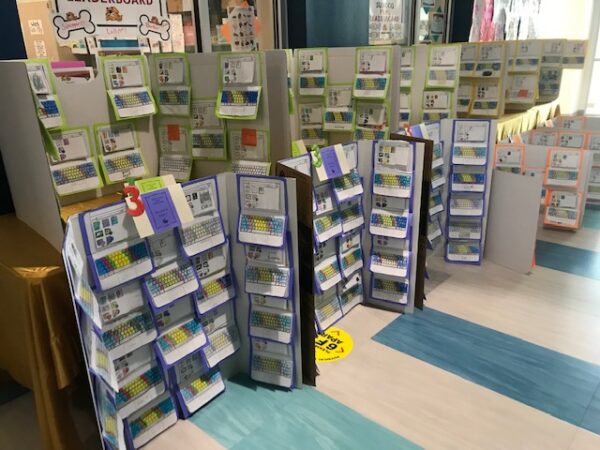
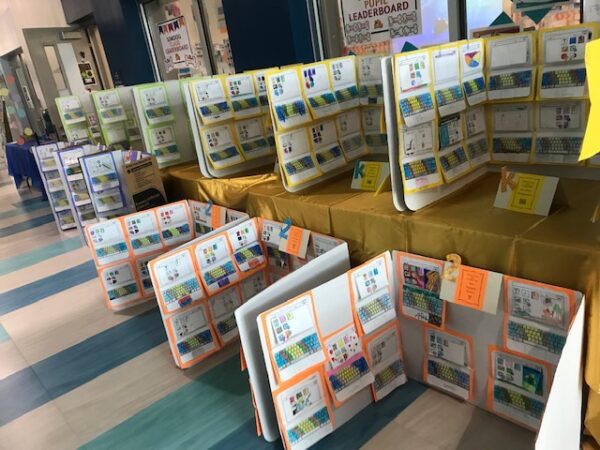
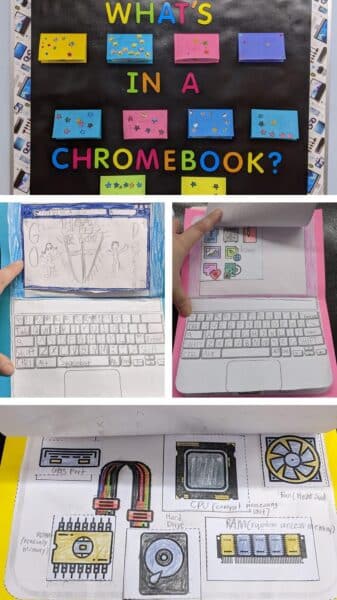
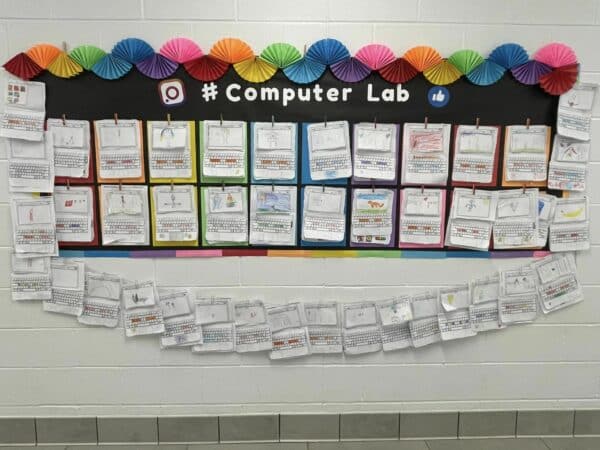
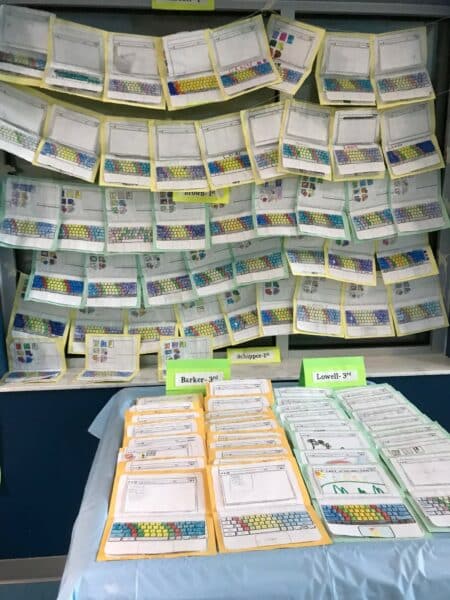
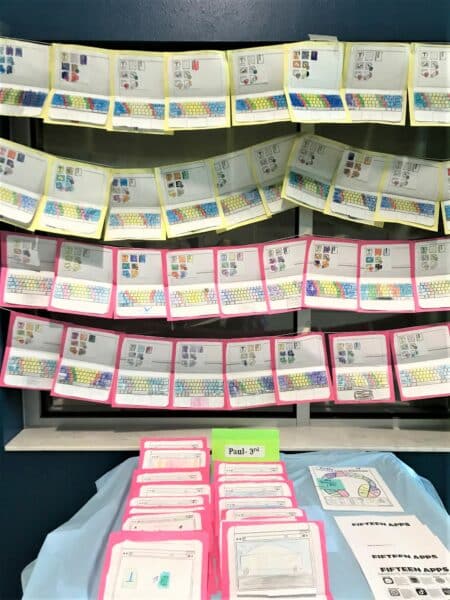
Build Your Own Computer Paper Activity

Your students are going to love learning about the parts of a computer while building their own on paper! These little laptops turn out so adorable you can't resist smiling when you see the finished products.

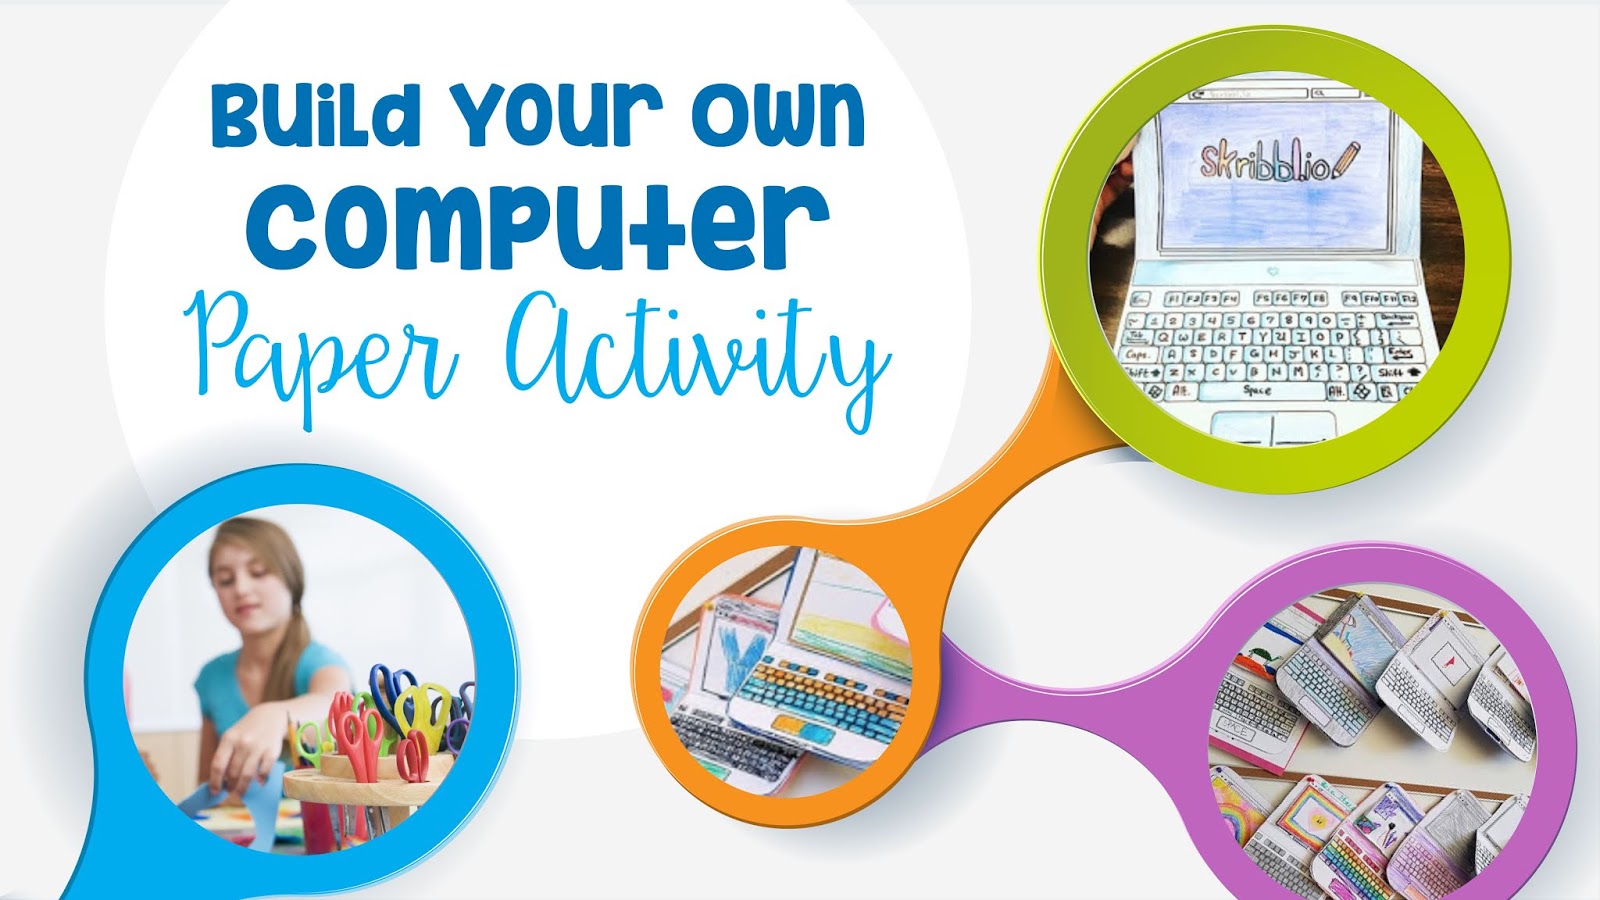
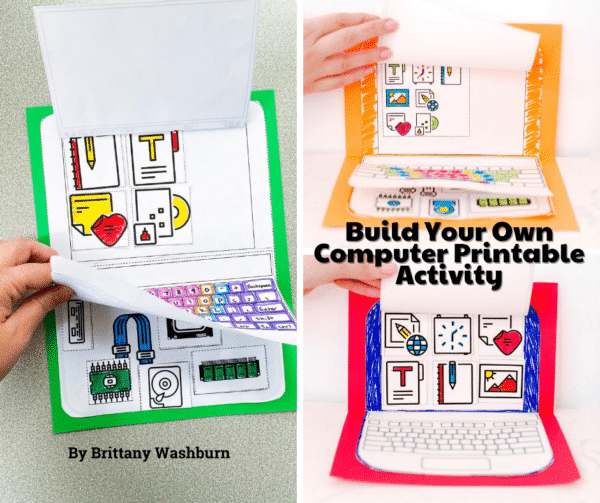
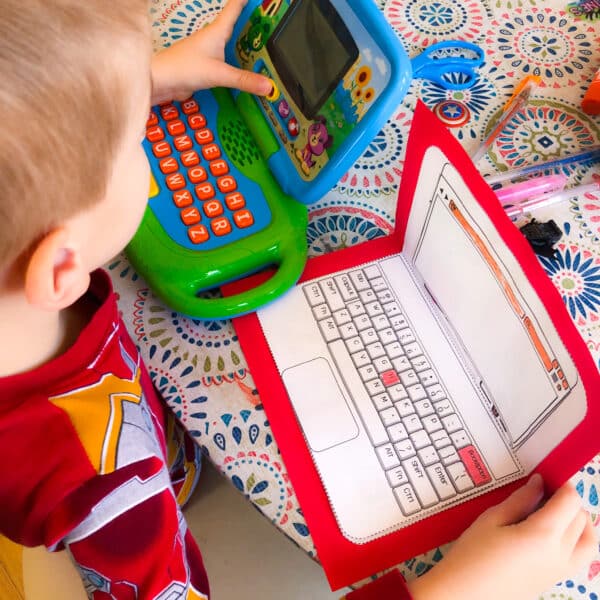
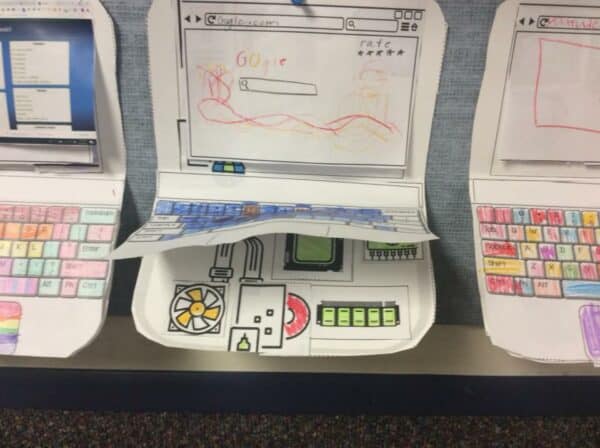
Get ready to add some fun and excitement to your computer science or STEM time with this incredible resource! Our lift-the-flaps laptop activity is the perfect way to teach your students about the parts of a computer, all while building their own on paper. Not only will your students have a blast creating their very own mini laptop, but they’ll also love showing off their adorable finished products.

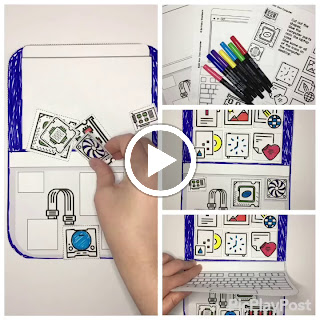
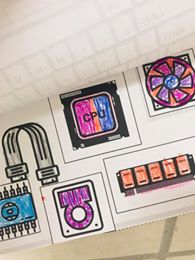
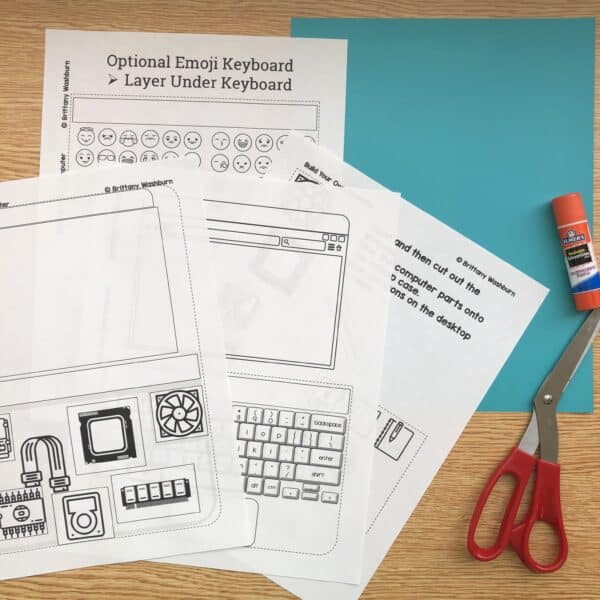
This resource includes everything you need to get started, including a matching page with definitions of the computer parts for added academic value. Use the included pictures to guide you through putting the computer together, or customize it to meet your specific needs. You can make it as simple (a coloring activity) or as complicated (learn and label the parts of a computer) as you need it to be.

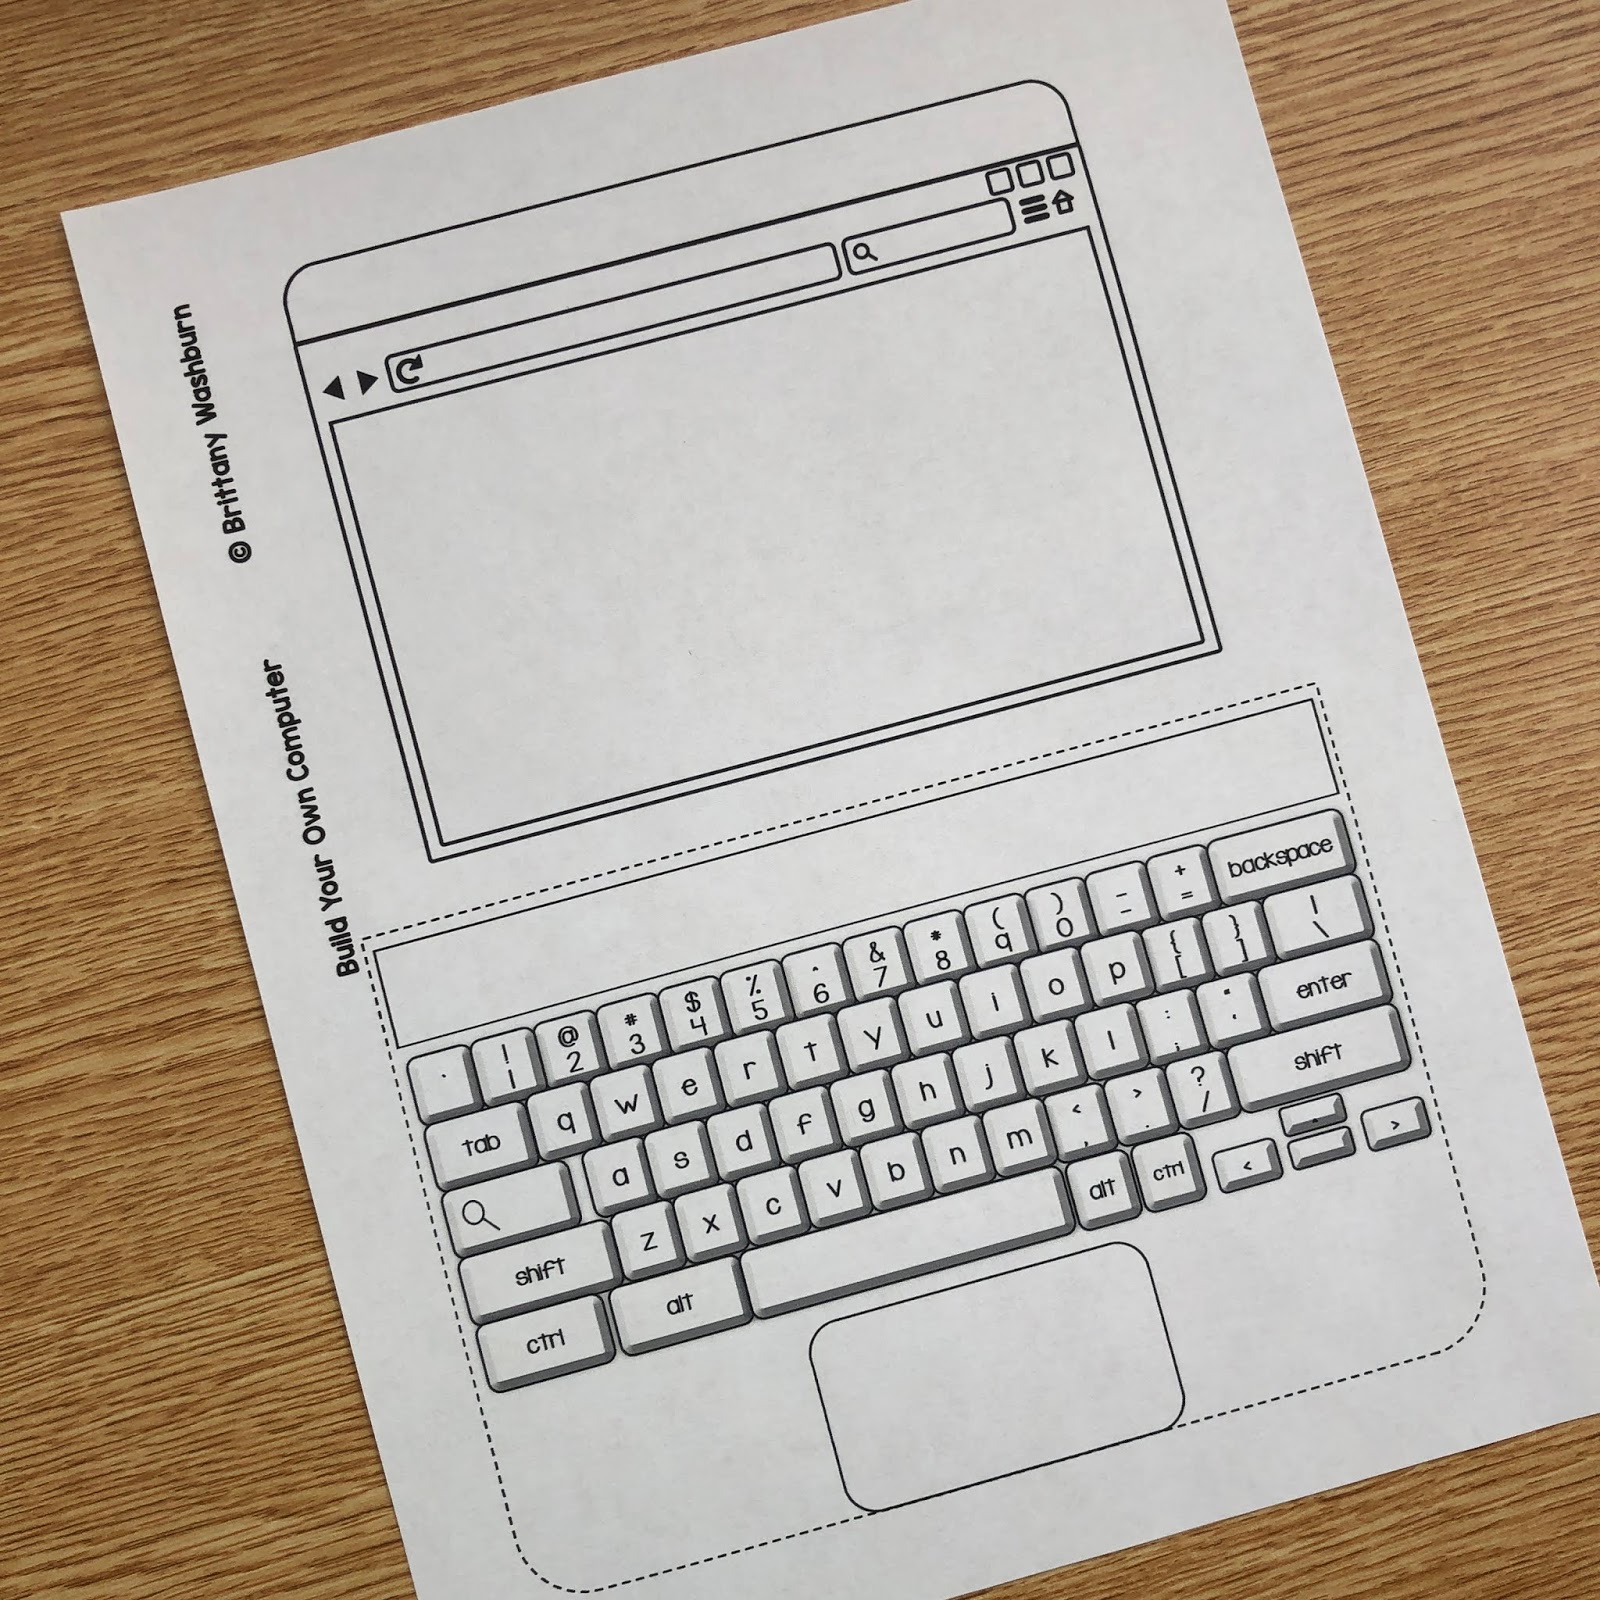
With options for the laptop frame, keyboard (blank or filled in, windows, chromebook, or mac layout), and icons pages (print the option that works best for you), you’ll have everything you need to create a truly unique and engaging activity for your students. And don’t forget the matching activity and answer key, which will provide additional academic value while reinforcing key concepts.

So if you’re looking for a fun and engaging way to teach your students about the parts of a computer, look no further than our lift-the-flaps laptop activity! With easy-to-follow instructions and endless possibilities for customization, this resource is sure to become a favorite in your classroom. 

 
Your students are going to love learning about the parts of a computer while building their own on paper! These little laptops turn out so adorable you can't resist smiling when you see the finished products.
Your students are going to love learning about the parts of a computer while building their own on paper! These little laptops turn out so adorable you can’t resist smiling when you see the finished products.
This activity is meant to be quite open-ended, but the internal computer parts do each have a place. Decipher where they go by the size of the cut out.
 
Your students are going to love learning about the parts of a computer while building their own on paper! These little laptops turn out so adorable you can't resist smiling when you see the finished products.
 
The desktop icons can be placed anywhere, and all but one should fit. I left the website and the keyboard blank so that you can choose how you want students to fill them. Students could put both upper and lowercase letters on the keys. Perhaps have them draw their favorite website, your class website, or a safe-to-go-to website of their choosing.


Watch this video overview:


Watch this video to see how you can pick and choose the pages you use to make it as simple or as challenging as you need.


Your students are going to love learning about the parts of a computer while building their own on paper! These little laptops turn out so adorable you can't resist smiling when you see the finished products.
The last activity page is totally optional and is a matching activity so that students can learn a bit more about the parts of the computer.


Each student will need a copy of pages 3-5, with page 6 optional. If possible, print slide 3 on cardstock for a little more durability, or glue the back of the “laptop case” onto construction paper. 


In addition to the lift-the-flaps laptop, there is a matching page with definitions of the computer parts for a little added academics.
Your students are going to love learning about the parts of a computer while building their own on paper! These little laptops turn out so adorable you can't resist smiling when you see the finished products.
 
Use the included pictures to guide you through putting the computer together, but know that it can also be totally customized to meet your needs. You can make it as simple (a coloring activity) or as complicated (learn and label the computer parts) as you need it to be. 
Your students are going to love learning about the parts of a computer while building their own on paper! These little laptops turn out so adorable you can't resist smiling when you see the finished products.

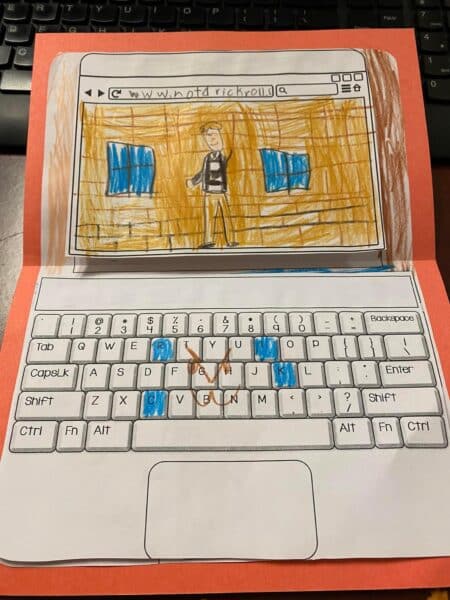
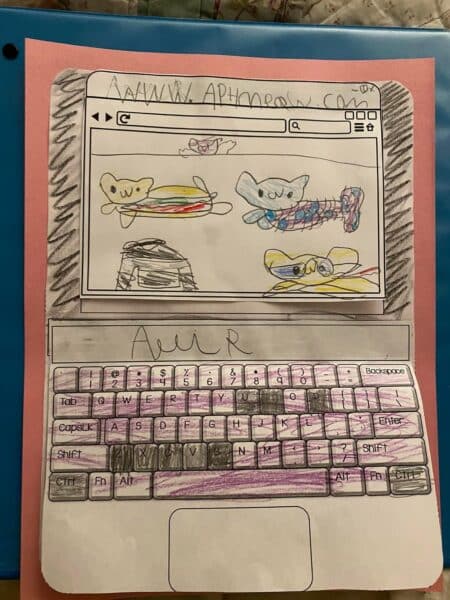
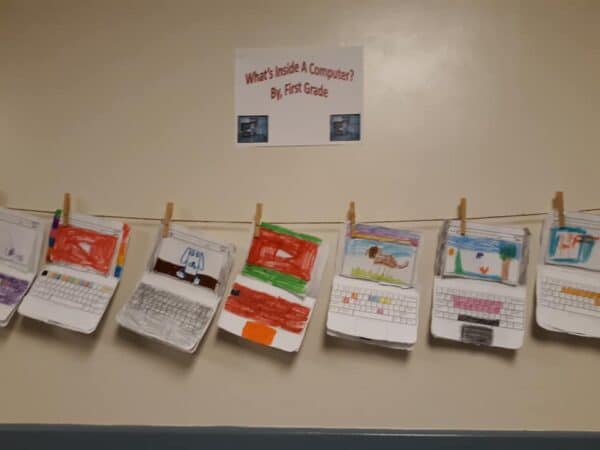
Tara’s Feedback (Tech teacher grades 1-5): I love the fact that this student created a keyboard with movement. I thought it was so clever, I certainly didn’t think of it 🙂

Your students are going to love learning about the parts of a computer while building their own on paper! These little laptops turn out so adorable you can't resist smiling when you see the finished products.
Watch this little video of me putting mine together.
Your students are going to love learning about the parts of a computer while building their own on paper! These little laptops turn out so adorable you can't resist smiling when you see the finished products.
Suzanne said: This was by far the most fun activity we did this year.
Your students are going to love learning about the parts of a computer while building their own on paper! These little laptops turn out so adorable you can't resist smiling when you see the finished products.

On March 18, 2018Tiffany G. answered:

My students absolutely LOVED this activity. Some of them still carry their paper computers around!
 

On April 27, 2018Buyer answered:

My 6th graders loved this project and it was an excellent learning opportunity for a day my computer lab was being used for testing.
 

On April 24, 2018Jean H. answered:

I paired this activity with the video the Magic School Bus gets Programmed and my 1st and 2nd graders loved it.
Your students are going to love learning about the parts of a computer while building their own on paper! These little laptops turn out so adorable you can't resist smiling when you see the finished products.

On April 9, 2018Buyer answered:

My students loved this activity and begged to do it again for a second year in a row!
Your students are going to love learning about the parts of a computer while building their own on paper! These little laptops turn out so adorable you can't resist smiling when you see the finished products.
On February 28, 2018Leslie Faett answered:
I used this with the lower grades and then the upper grades started asking if they could make their own computer. With a few adjustment to the degree of difficulty this was an excellent lesson.
 
Do you want to try this activity with your students? Click here: Build Your Own Computer Activity
Your students are going to love learning about the parts of a computer while building their own on paper! These little laptops turn out so adorable you can't resist smiling when you see the finished products.
@brittanywashburntech

Students LOVE making their own paper computers! It’s great for any time of year but extra fun at the end of the year. #computerlab

♬ original sound – Brittany Washburn Technology

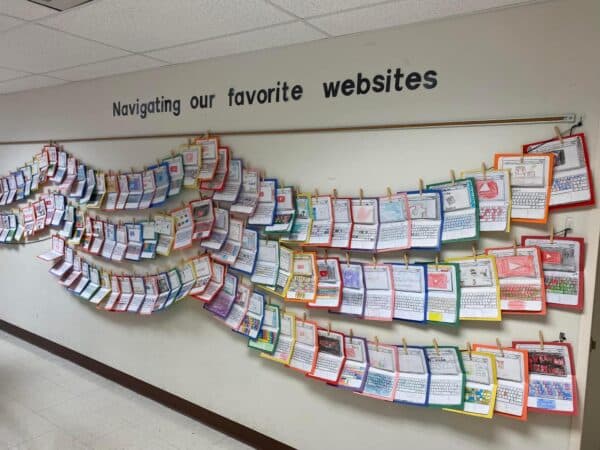
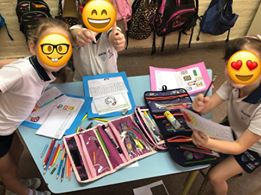
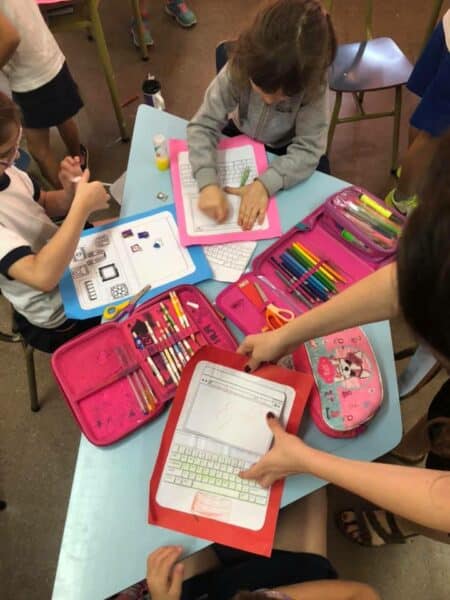
Have a photo of the Build Your Own Paper Computers in action? Email it to me, please!

Leave a Reply