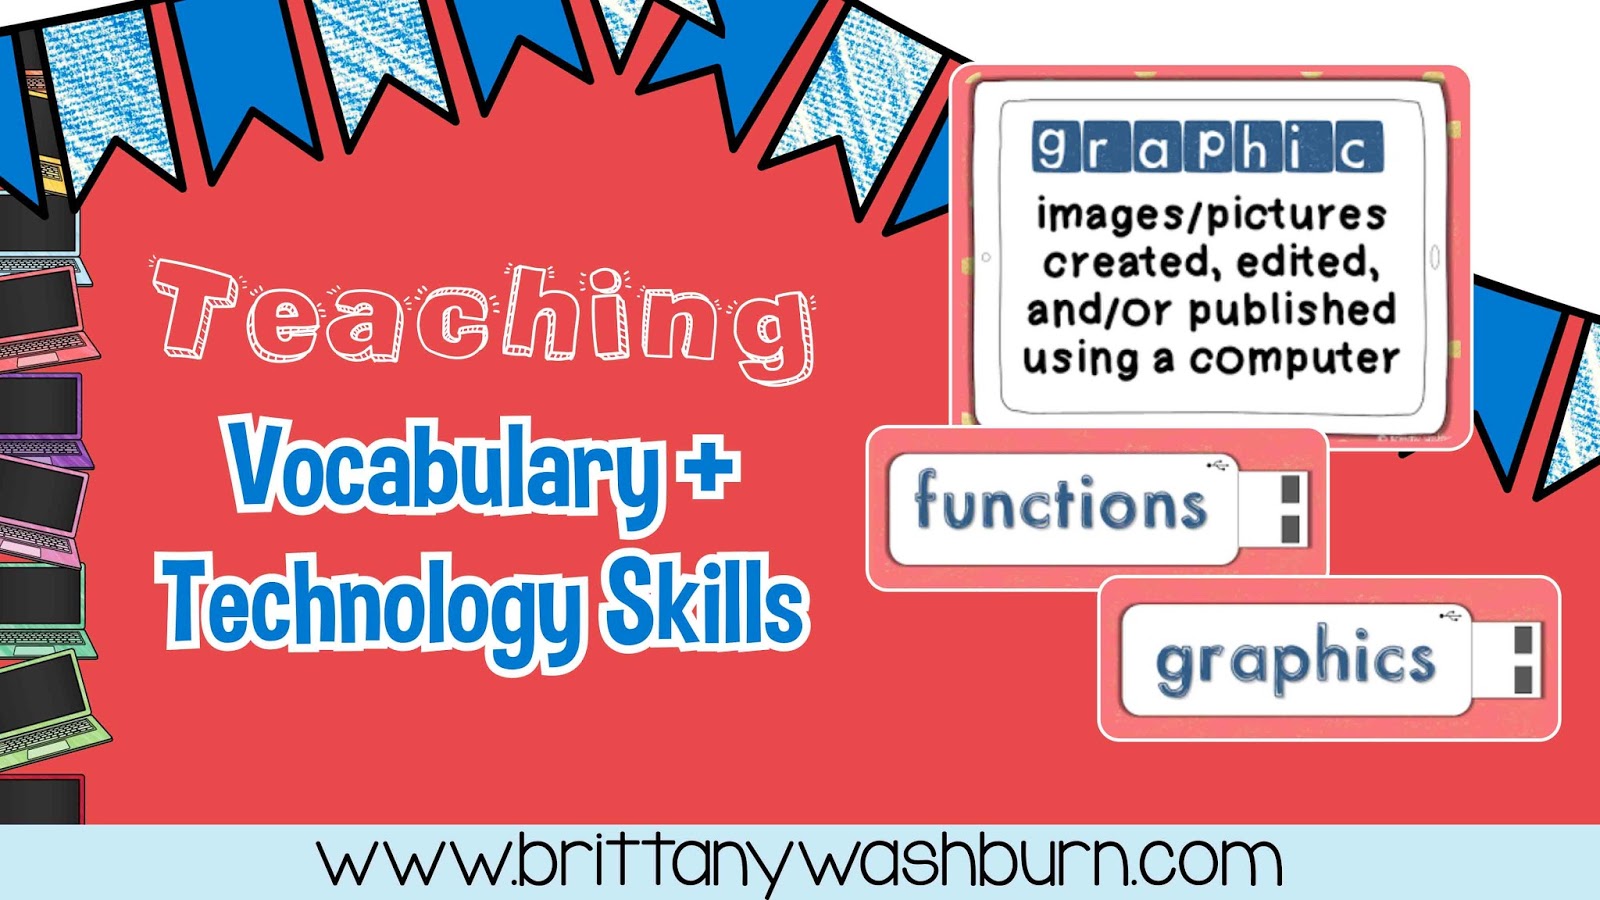
Teaching Vocabulary and Technology Skills
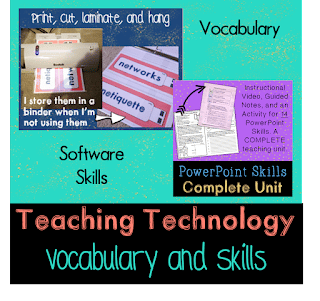
Do you have a word wall in your technology classroom? My first year teaching I didn’t, and every time I asked my students to write about what they were learning I had to spell EVERYTHING for them. Obnoxious, right? We want our students to use the vocabulary words we are teaching them, so why not put them all up on the walls to help our students see the word and make a connection to the spelling? That is exactly what I’ve done from my second year and on.
Let’s face it, when you’re the only one at your school teaching technology you can feel totally alone in planning and curriculum development. Even if you meet with a professional learning team, you’re not at the same school working with the same students. You’re on your own. This may seem like a big obstacle, but it actually has an upside – no one can tell you how to pace your lessons!
If you’re like me, you NEED a few weeks to establish procedures and expectations. I would hate to feel rushed, like most classroom teachers do, to start teaching content within days of beginning school. After I have shown my students how to enter the classroom, how to begin working, where the supplies are, how they may use the supplies, how to log off, and how to line up, then I’m ready to start teaching vocabulary and skills.
I have this winning combination I use for teaching every technology lesson. I start with an essential question, then I talk about the I Can statement and vocabulary for the lesson, then I dive into the directions all without actually teaching them anything yet. When my students log into their computers and access the lesson page on my class website, that is when instruction and independent practice finally takes place. You see, I have a semi-flipped classroom. I LOVE to use screencasts to give the actual instruction for a lesson. I will detail the steps required and give them directions for how to complete the independent practice part. For an example screencast showing students how to insert, move, and resize photos, check this out:
My students learn the answers to essential questions, vocabulary, and a declaration for the I Can Statement from hands on practice.


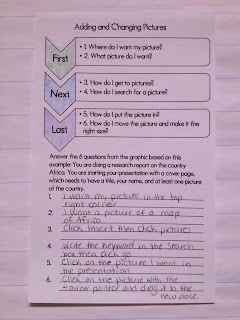
second grade, but each year I find that I have to re-teach skills like how to
change the font and how to insert and resize a picture. This was frustrating to
both the students and to me. That’s why I decided to create an interactive notebook for
these skills, so that students can look back and see the details for how to
complete each skill and why we need that skill (all included in the guided
notes and activities of my PPT Skills Complete Unit). If you teach multiple grade levels like I do, you may
choose to split the instruction of these 14 lessons between 3 years (start in 3rd
grade with the basics, do a few more lessons in 4th grade and finish
with the trickiest skills in 5th grade) or something similar.
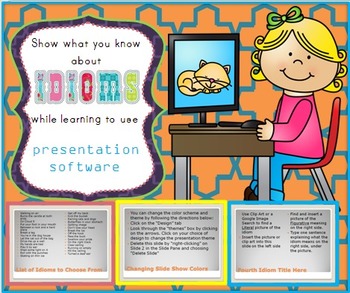
grade along with a research project. I worked with the teachers and chose to
research Idioms (you can find the guided research project here
if you’re interested). We spent weeks learning the PPT skills and then
implemented them into a cohesive, and amazing, presentation for each student.
Their work was middle school quality after learning all of these skills.